Hello everyone! This post starts my stm32f4discovery learning experience story. This board truely deserves only good words to describe with. Big thanks to ST. That’s the one I have: 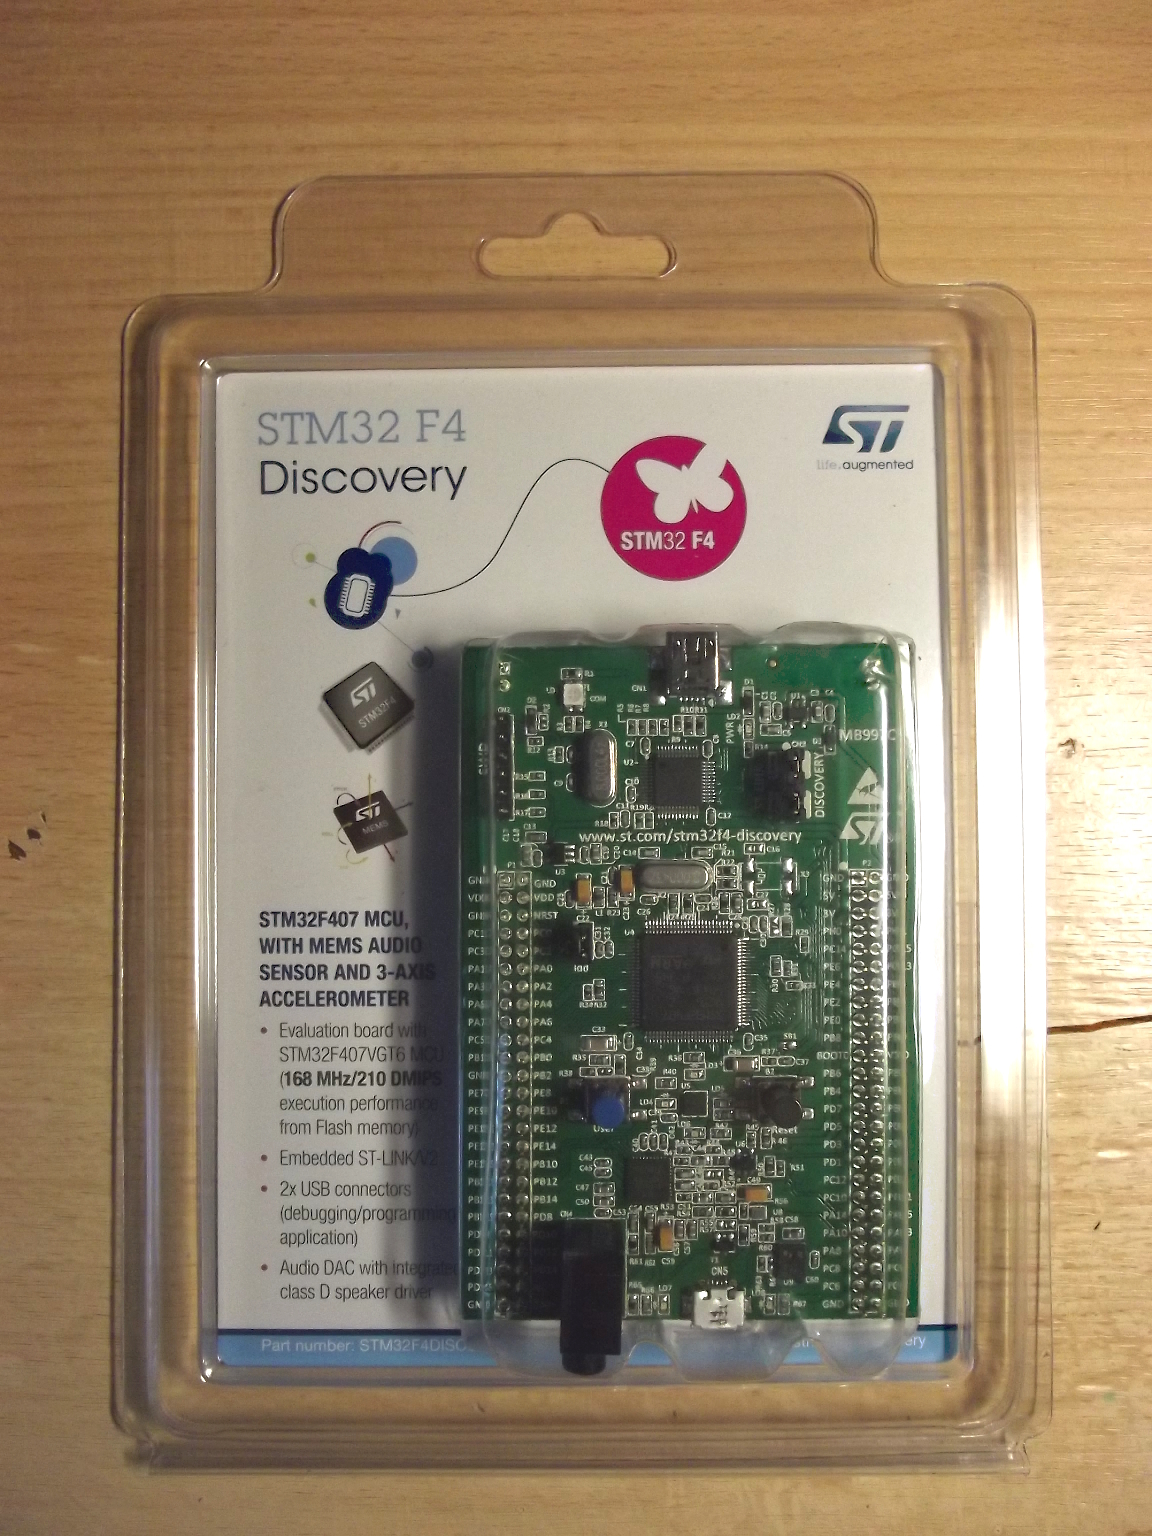
The trip to the dark side is a comparatevely low level experience. It’s like a trip to the wild where we need to use a kind of primitive tools. I think it is the right way of learning - especially at the beginning. I mean - no IDE. Let’s leave IDE for rapid development.
In this post we’re going to install tools under gnu/linux (mb it will be possible to install them for windows too) needed to make binaries for our ARM processor, load, debug them and have fun of everything working.
So, these tools are:
- a toolchain built for arm-architecture (GNU toolchain)
- a programmer (not another one person but a software driver for embedded in stm32f4discovery piece of hardware called STLink
I’ve tested the following on Debian 7 Wheezy 64bit and on Fedora 15 32bit.
Toolchain
Debian users can refer to this tutorial to manage the toolchain installation.
I preferred more universal way, though. Thanks to GCC ARM Embedded Maintainers team we’ve got this pre-built toolchain. We just download, unpack, add bin folder to PATH and it’s done. The one thing to mention for 64bit OS users is that 32bit libc and libncurses are needed for this toolchain to work (see the readme.txt for more detailed instructions).
To test our toolchain let’s write a little assembly code:
1 2 | |
Then, in the console :
1
| |
In this command we tell the assembler that we’re using thumb instruction set and we’re writing code for Cortex-M4 core. If no complains from command line - we’re done with the toolchain.
STLink
To get STLink working is also fairly simple. It can be found on a github repository. Dependencies we need to resolve are: libusb (of version >=1.0), libusb-dev and pkg-config packages. Please consult the README file for detailed instructions.
To test st-link tools being installed correctly, add the STLink installation directory into your PATH environment variable and just type in the console:
1
| |
And the response you should get is like:
1 2 3 4 5 6 | |
That’s it. Next step is to write a traditional leds-blinking program. Feel free to contact me if you have smth to ask or talk about